Integrating your React application with Emailjs
Learn how to receive custom emails directly from contact form page without backend


Imagine you are faced with the task of building a contact form feature on a project you are working on and the requirements are as follows;
When a user inputs the required information and clicks the submit button, send information as a message to a specified email address.
A Backend setup will not be necessary as the project is fairly small.
These requirements make it a perfect use-case for Emailjs, a JavaScript library that allows sending emails from your websites or web applications without the need for implementing server-side code.
In this article, I will be showing you how to integrate the Emailjs library with your react application. It is required that you have at least a basic knowledge of reactjs.
Part 1: Emailjs
Setting up an emailjs account
Go to Emailjs and click the Sign Up button at the top-right corner.
Fill in your name, email, and password. Also, ensure that you check the captcha box to complete the sign-up process.
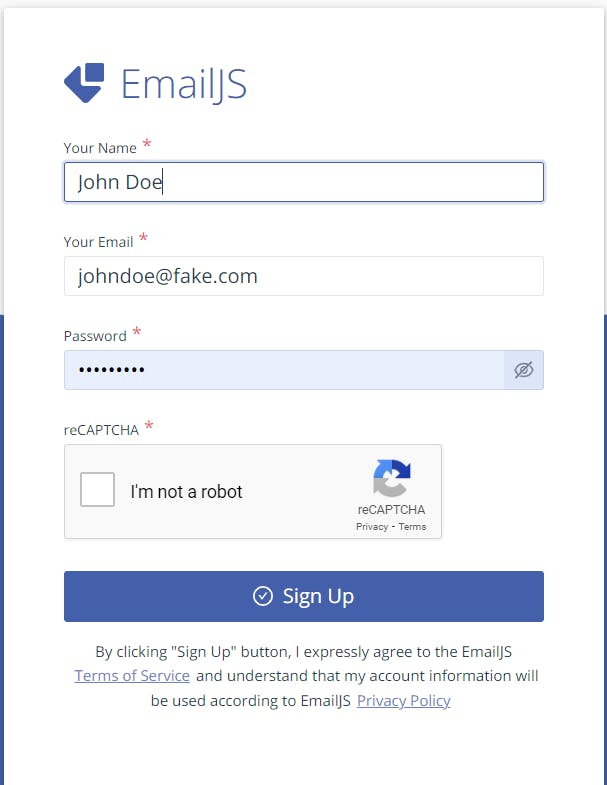
Follow the prompt and after this, you will be redirected to your account dashboard where we can now set up an email service to use with our application.
Adding an email service
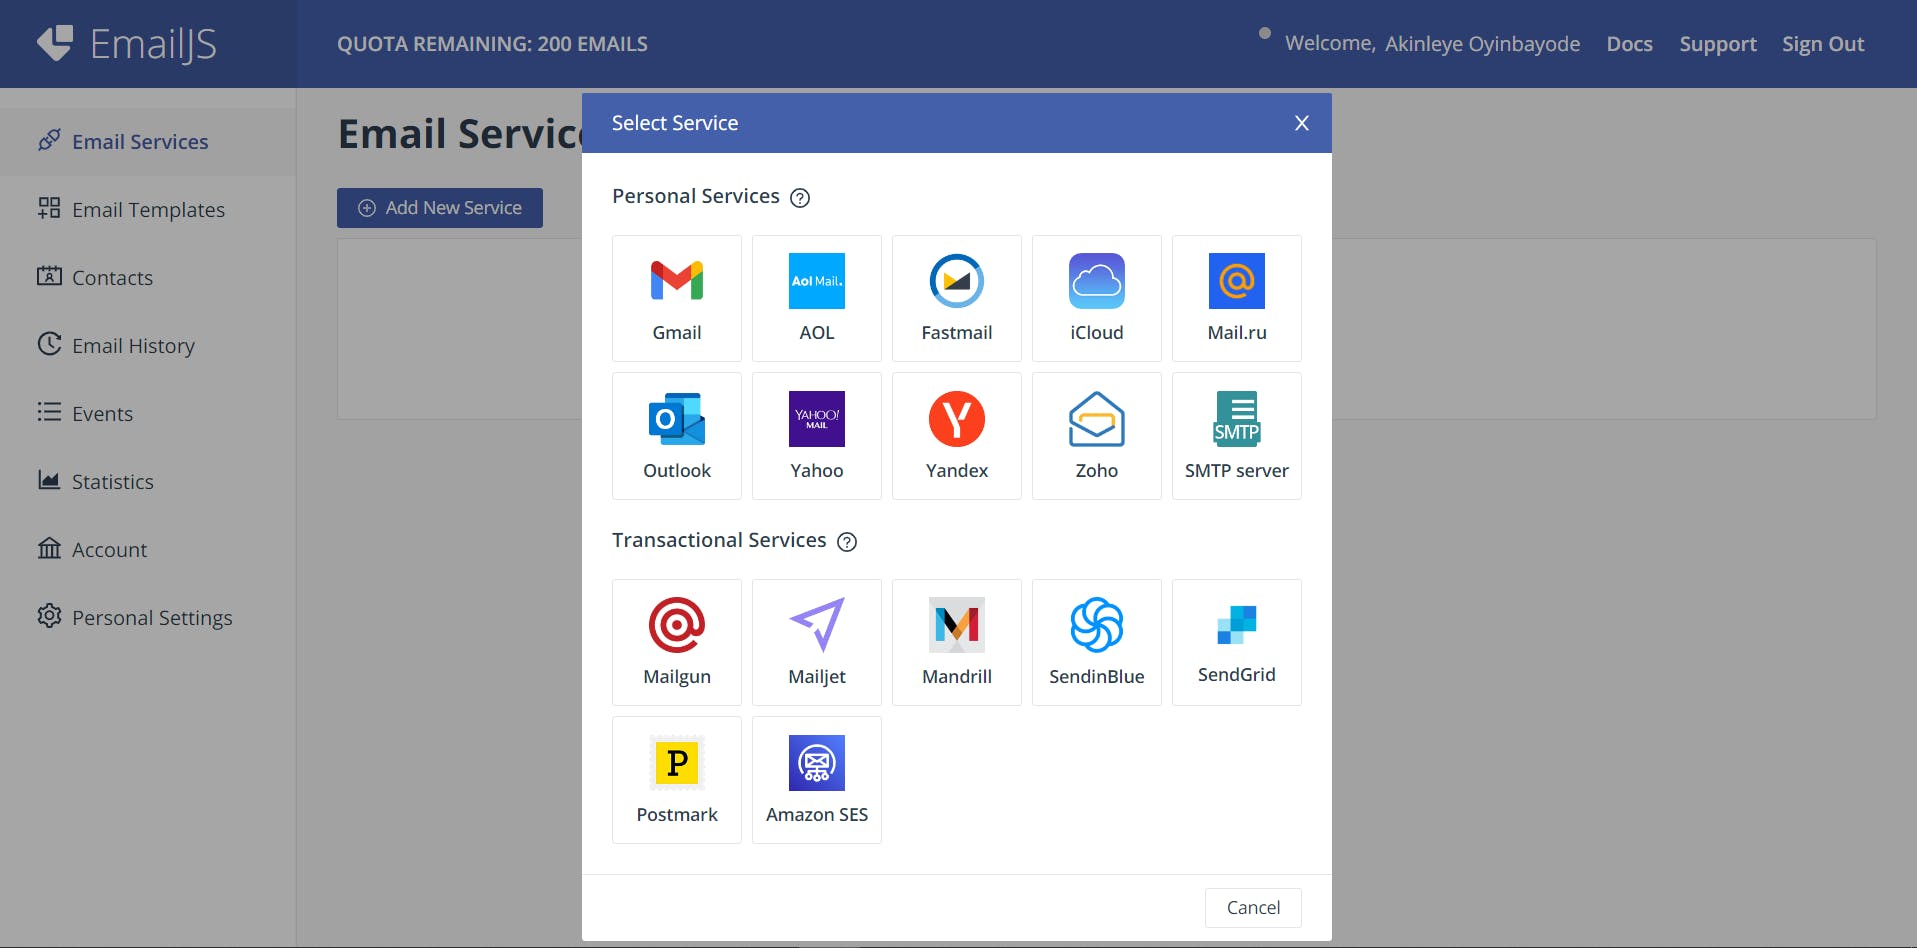
For this article, we will be using Gmail as our email service
Click on the Add New Service button and select the Gmail icon
Click on the Connect Account button and ensure that your credentials are correct. Afterward, click on the create service button.
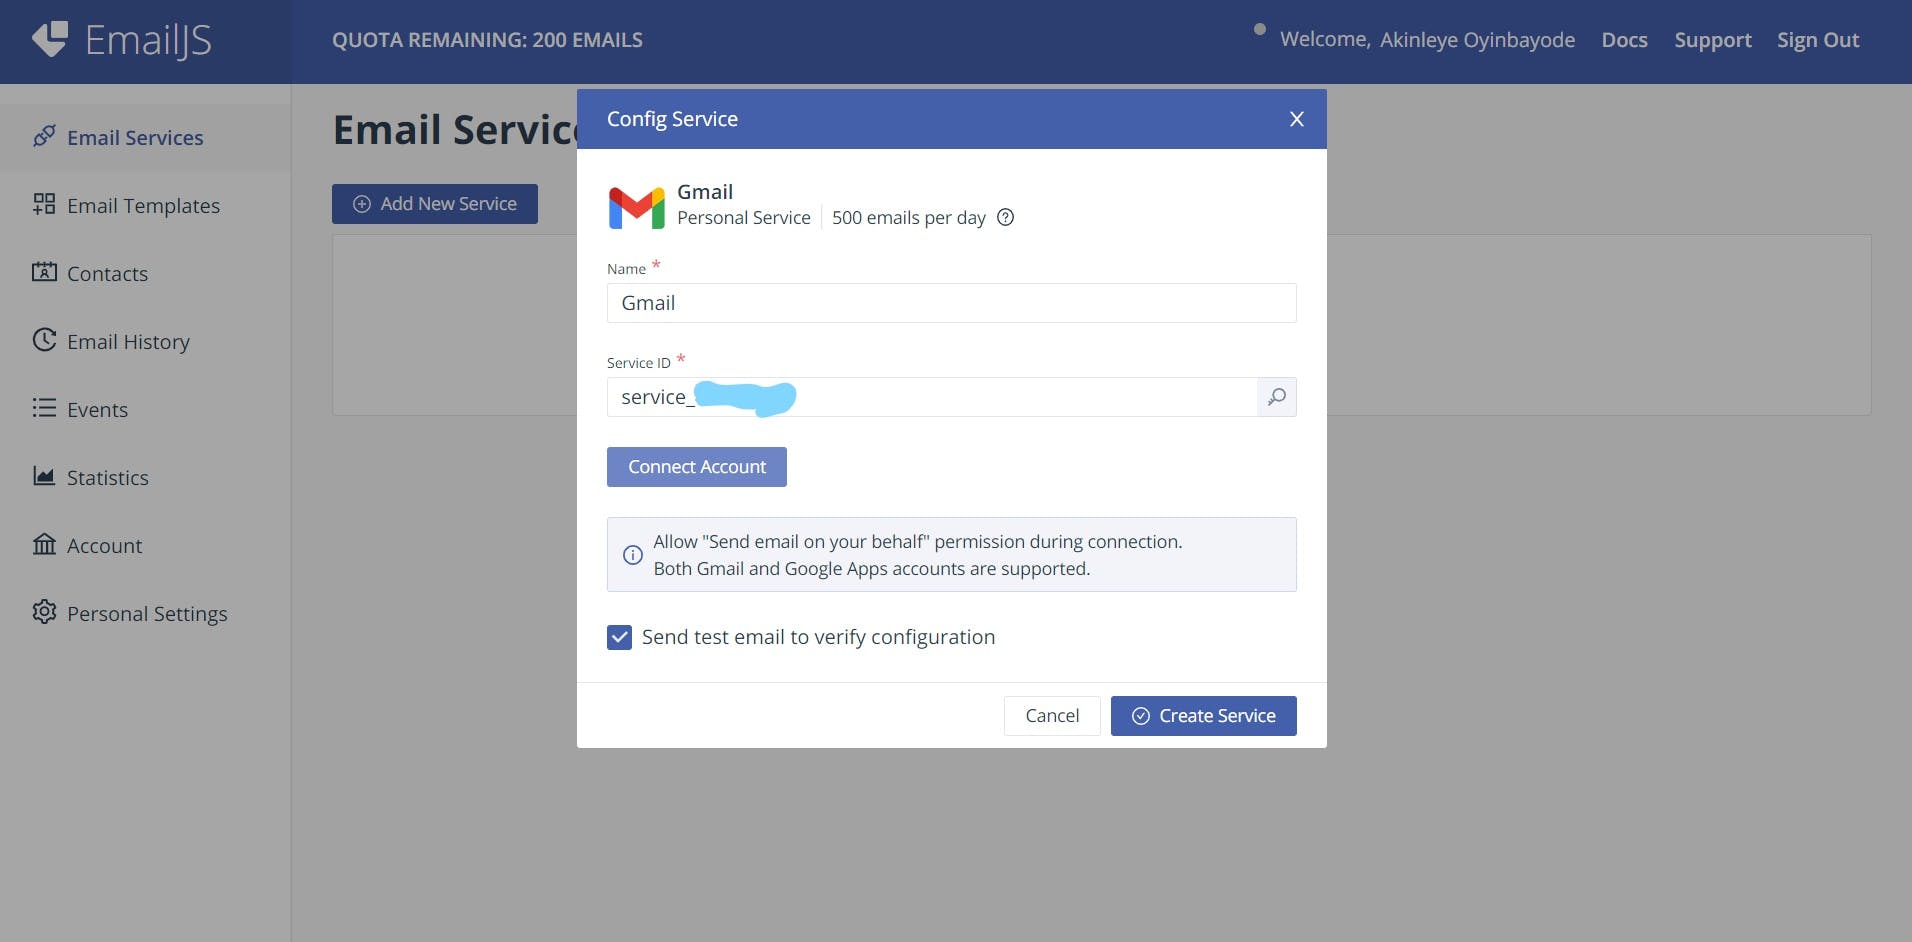
Note that, we will be utilizing the service_ID in our react code. Now that we have successfully added an email service, we will be customizing the template for the message to be sent to our email.
Creating a custom email template
- On the left side of the dashboard page, click on the Email Templates button and then the Create New Template button.
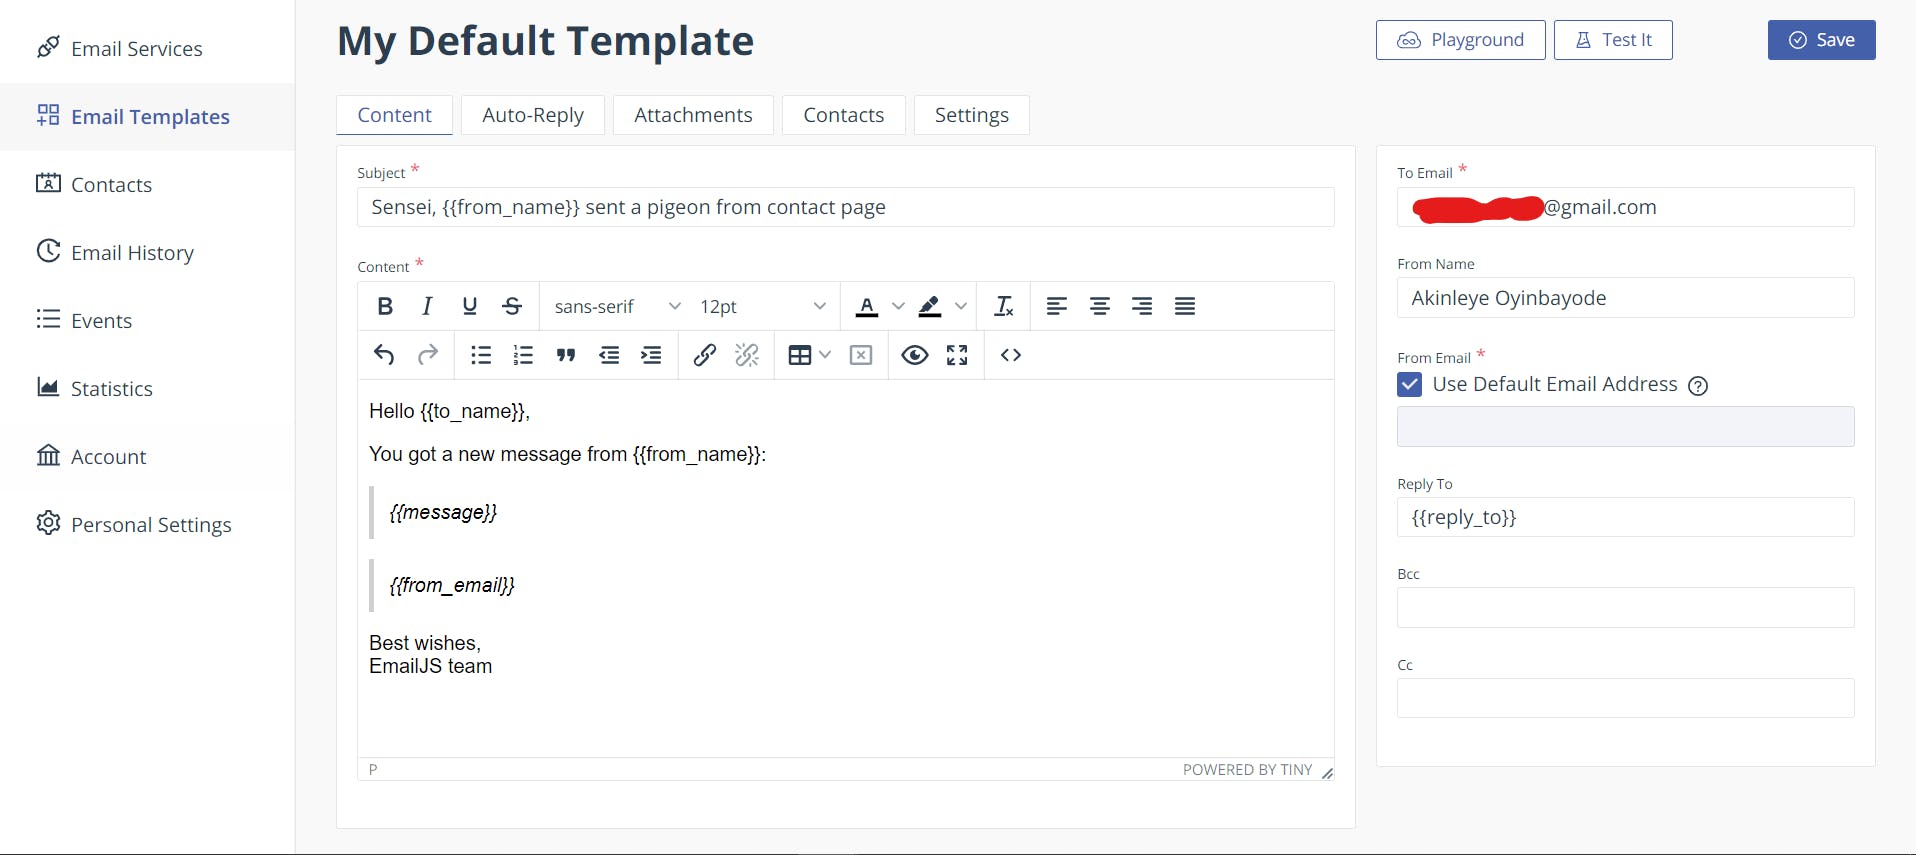 You can customize the message to suit your need. Also, note what the variables in the template represent;
{{from_name}}- The name of the user who sent the email{{to_name}}- Your name as the receiver of the message{{message}}- The message sent by the user{{from_email}}- The email of the user
You can now save the template by clicking on the save button at the top-right corner of the page.
Part 2: React
Installing the emailjs dependency
- Run
npm install @emailjs/browser --saveto install the emailjs package
Writing the code for emailjs integration
There are three important keys needed for us to effectively interact with emailjs;
serviceID- (The ID for the email service we earlier created)templateID- (The ID for the template we created)public key- (The public key of our emailjs account)
// Here's Where emailjs integration takes place

  /* emailjs.send is a method to send an email and it takes four arguments
      1. service_id  2. template_id 3. an obj {} where the variable that was defined
      in the email template will be mapped to form data e.g email is assigned as a
      value to the from_email variable that was defined in the template. 4. Public key */

  /* The third argument is an object containing the key/value pair
      where key === variable in template and value === input */

    emailjs
      .send(
        "service_ID",
        "template_ID",
        {
          from_name: userName,
          from_email: email,
          message,
        },
        "Public key"
      )
We can find and copy;
- Public key at Accounts > API Keys > Public Key
- service_ID at Email Services > Service ID
- template_ID at Email Templates > Template ID
Contact Form
This is what our full code will look like
import React, { useState } from "react";
import emailjs from "emailjs/browser";

export const Form = () => {
  const [userName, setUserName] = useState("");
  const [email, setEmail] = useState("");
  const [message, setMessage] = useState("");

  const handleSubmit = (e) => {
    e.preventDefault();

    // Here's Where emailjs integration takes place
    emailjs
      .send(
        "service_ID",
        "template_ID",
        {
          from_name: userName,
          from_email: email,
          message,
        },
        "public key"
      )

      .then(() => alert("Sent"))
      .catch(() => alert("Not Sent"));

    setUserName("");
    setEmail("");
    setMessage("");
  };

  return (
    <div>
      <h1>Send Me a Message</h1>
      <form onSubmit={handleSubmit}>
        <div>
          <label htmlFor="userName">UserName</label>
          <input
            type="text"
            name="userName"
            value={userName}
            onChange={(e) => setUserName(e.target.value)}
          />
        </div>
        <div>
          <label htmlFor="email">Email</label>
          <input
            type="text"
            name="email"
            value={email}
            onChange={(e) => setEmail(e.target.value)}
          />
        </div>
        <div>
          <label htmlFor="message">Message</label>
          <textarea
            type="text"
            name="message"
            value={message}
            onChange={(e) => setMessage(e.target.value)}
          />
        </div>
        <button type="submit">Send</button>
      </form>
    </div>
  );
};

export default Form;
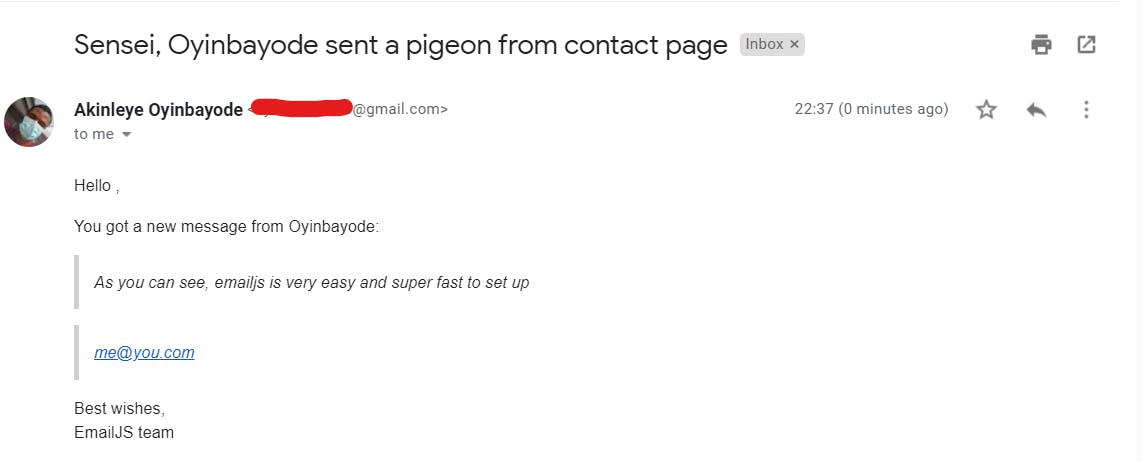
Result?
Conclusion
In this article, we learned how to integrate emailjs into our web application to send emails without the need for a backend. We also got to know how to create custom emailjs templates that can be modified for various use-cases.
It is also not necessary to store your public key and IDs in a .env file because Emailjs keeps authentication details on the server-side.
N.B: I didn't include a codesandbox link because emailjs as a dependency can't be found there.