How to build your first smart contract with Solidity
Learn how to build and deploy your first smart contract

Hello 👋
I'm a Front-End Dev && Blockchain enthusiast && Technical writer
Smart contracts are programs that run on the blockchain when they meet predefined conditions. Since they run on the blockchain, they are immutable once deployed and cannot change. In this article, you will learn how to build your first smart contract and deploy it to a local network.
What is Solidity?
Solidity is an Object-oriented, high-level language for developing smart contracts. It is statically typed, supports inheritance, and targets the Ethereum Virtual Machine (EVM) by design.
Prerequisites
To follow this tutorial, you will need;
- Basic understanding of a programming language
- Remix IDE
Remix is an online Integrated Development Environment (IDE) for prototyping, developing, and deploying smart contracts.
What you will build
In this tutorial, you will build a simple storage contract where you can write and store a number e.g. 50000. This is to help you get acquainted with Solidity and its syntax.
Setting up the development environment
Head over to Remix
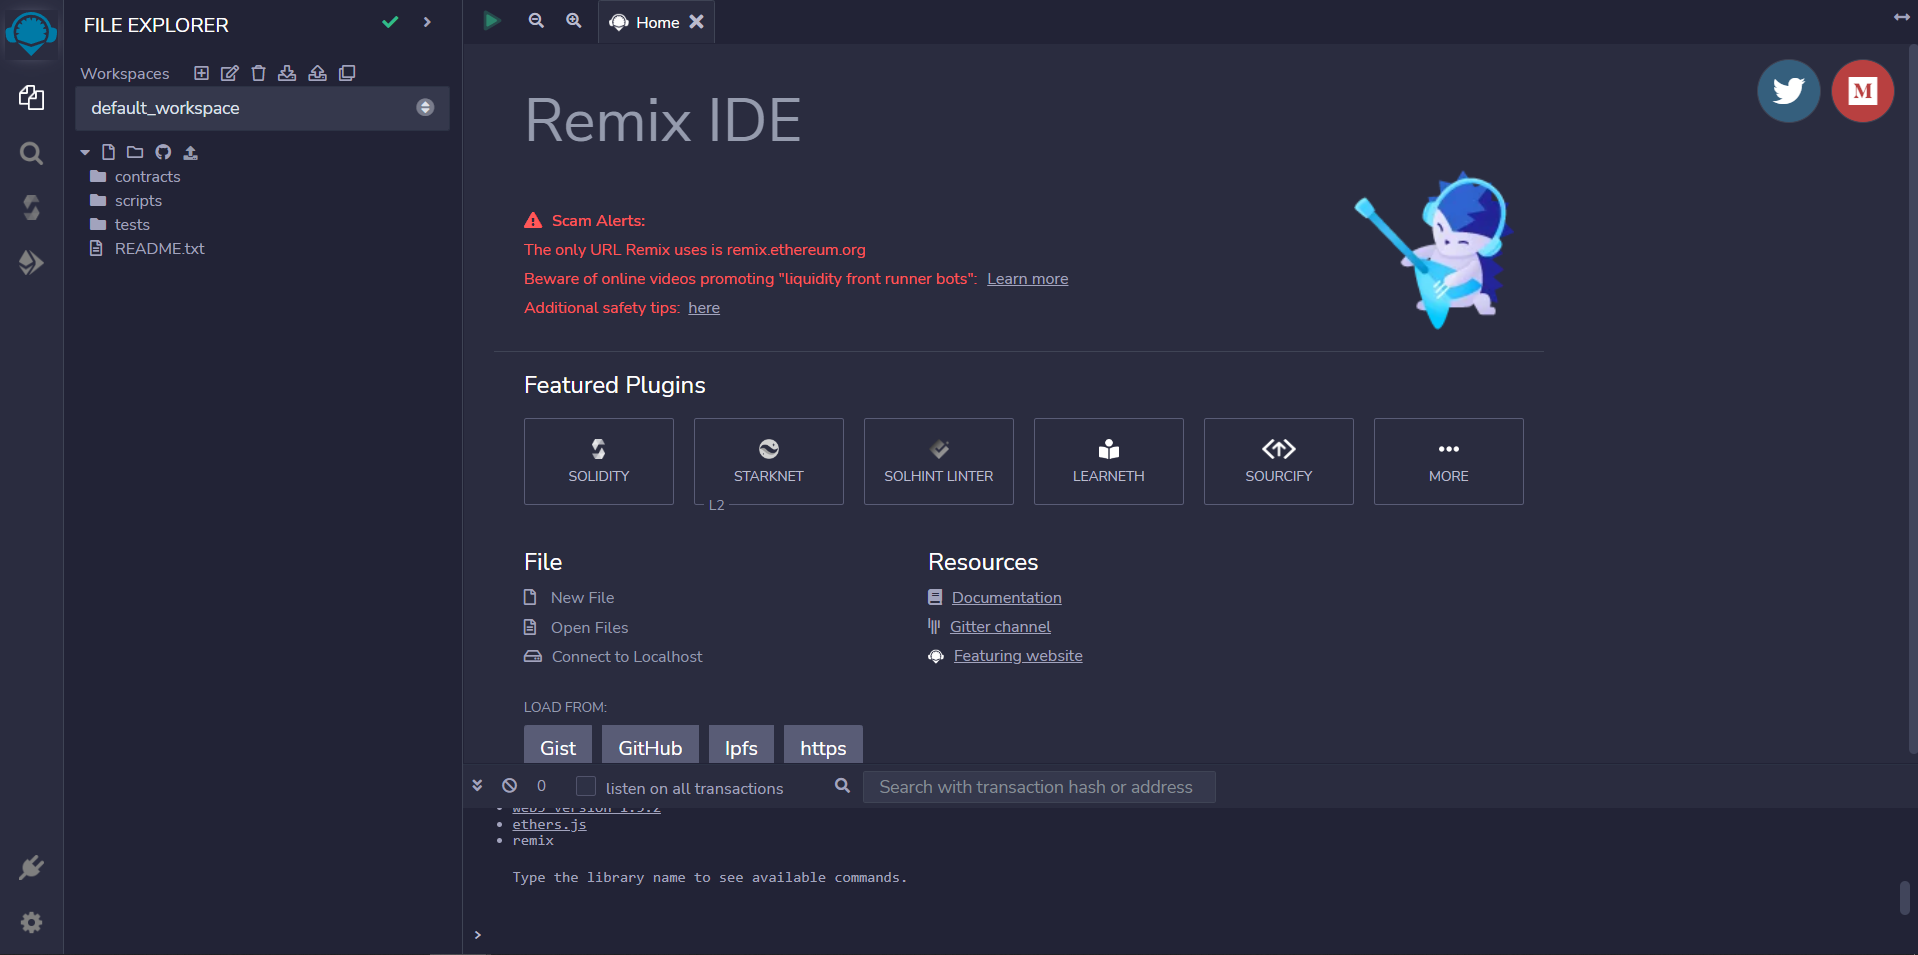
Right-click on all folders and files to delete them.
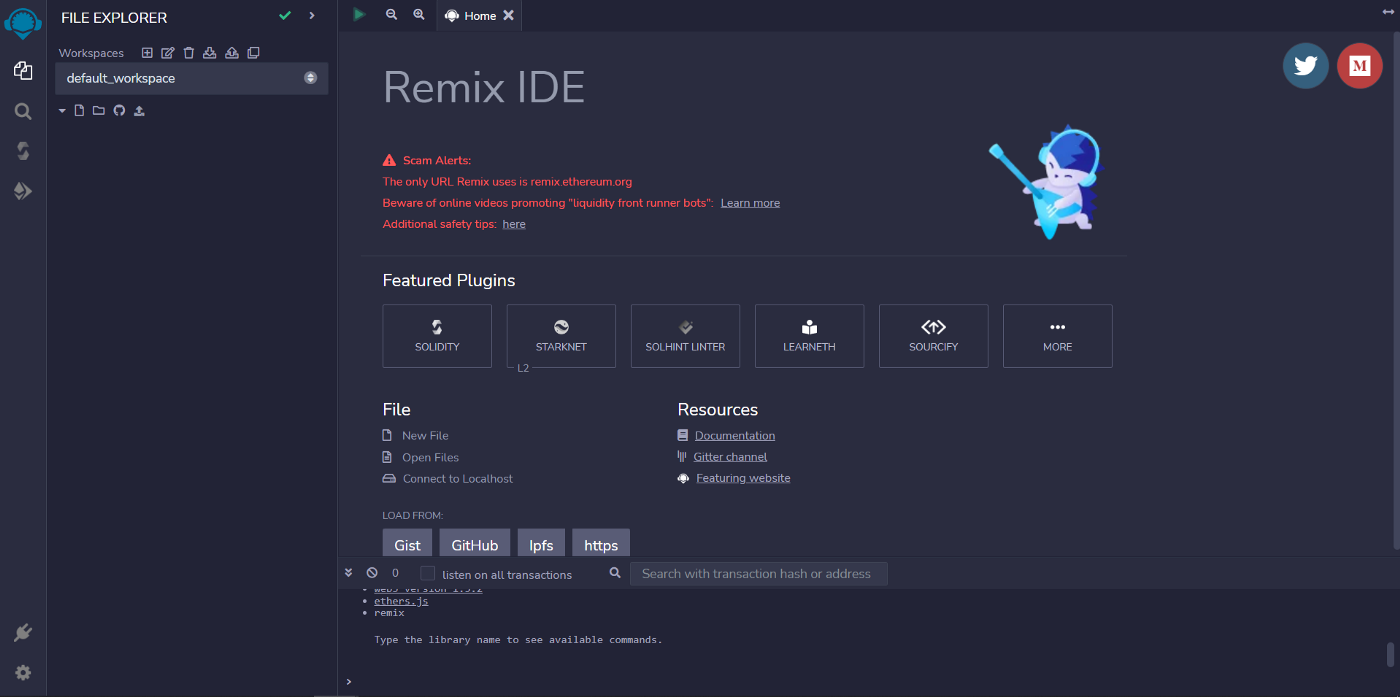 After deleting, you should have a blank workspace as shown above
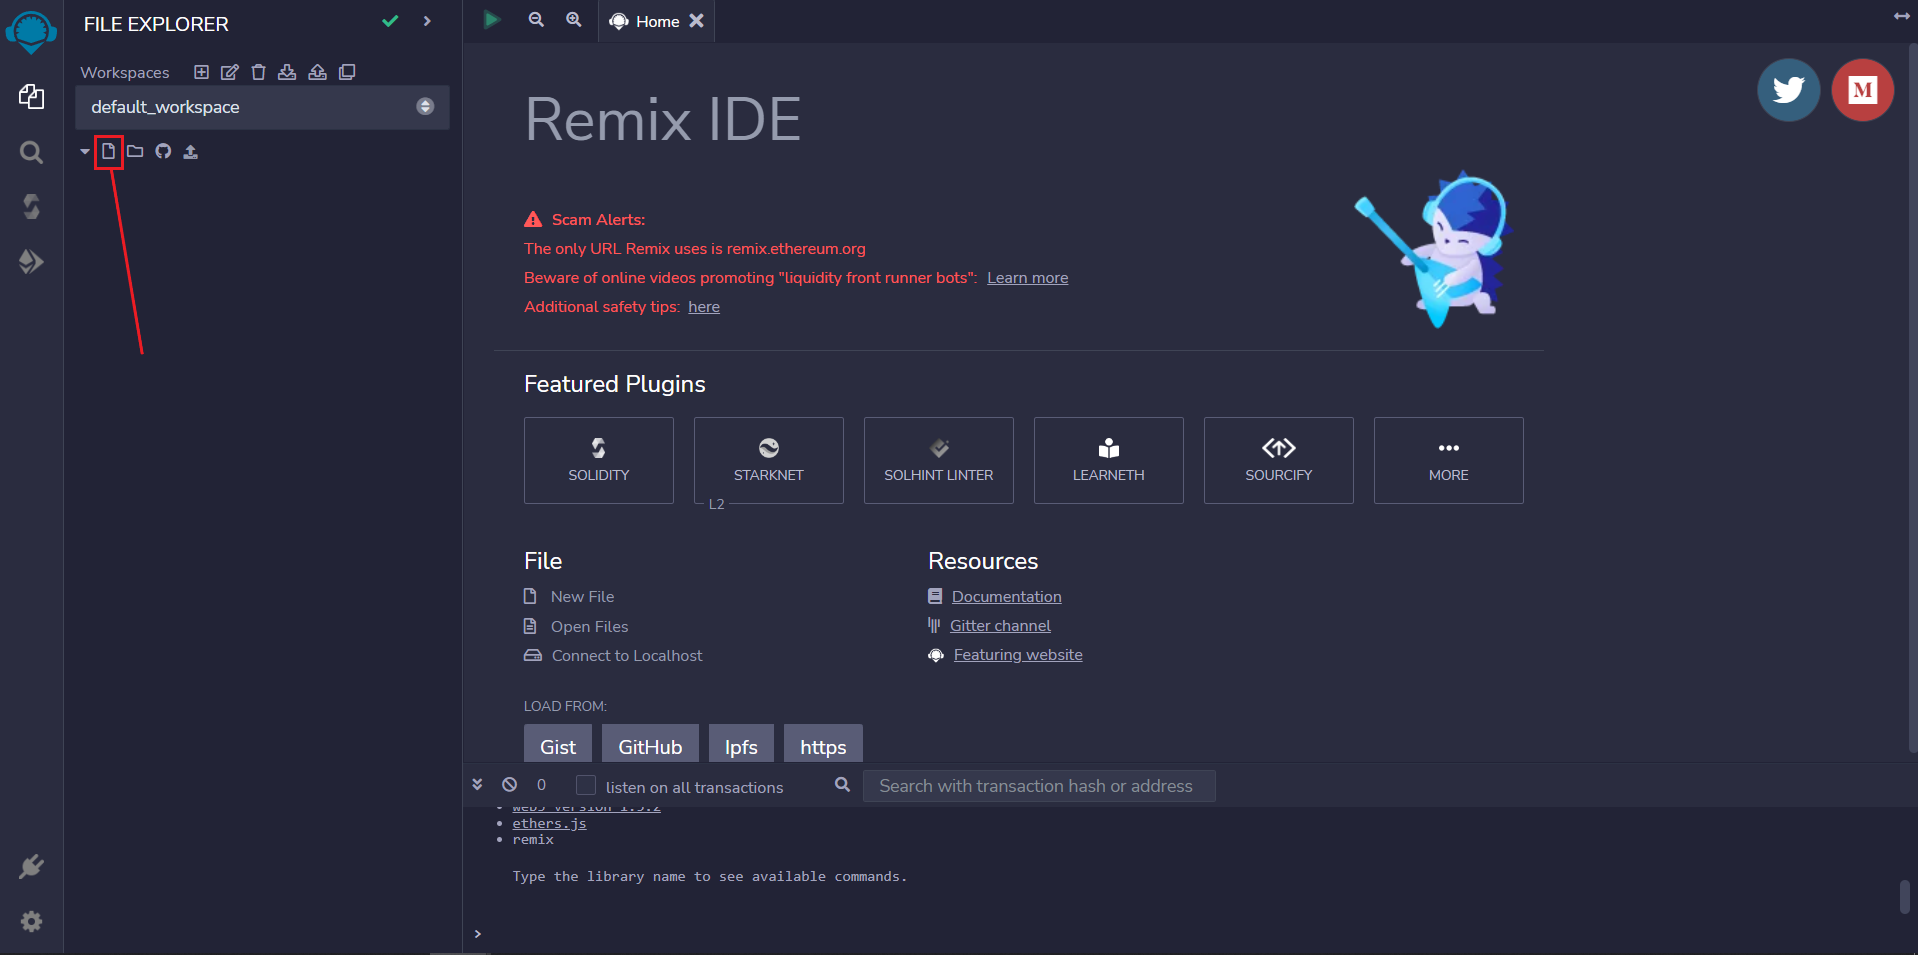
- Click on the file icon and create a new file named MyStorage.sol
Building the contract
Declaring contract structure
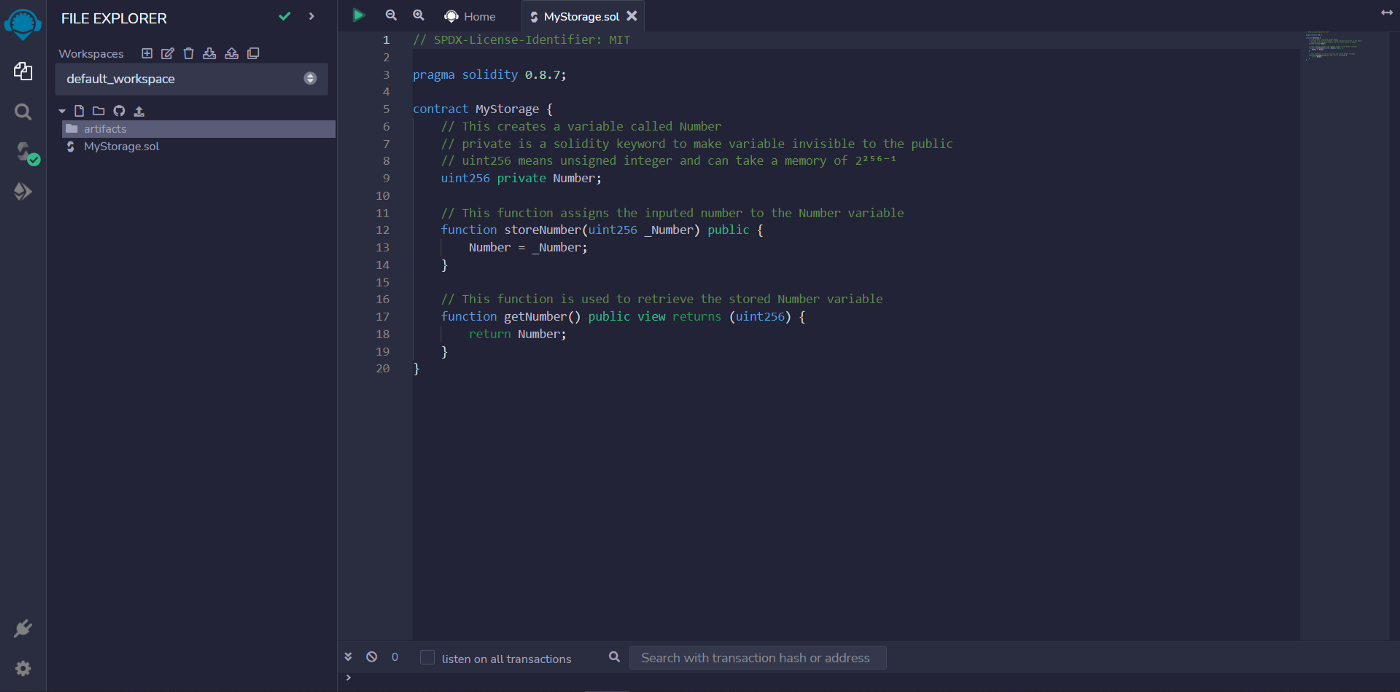
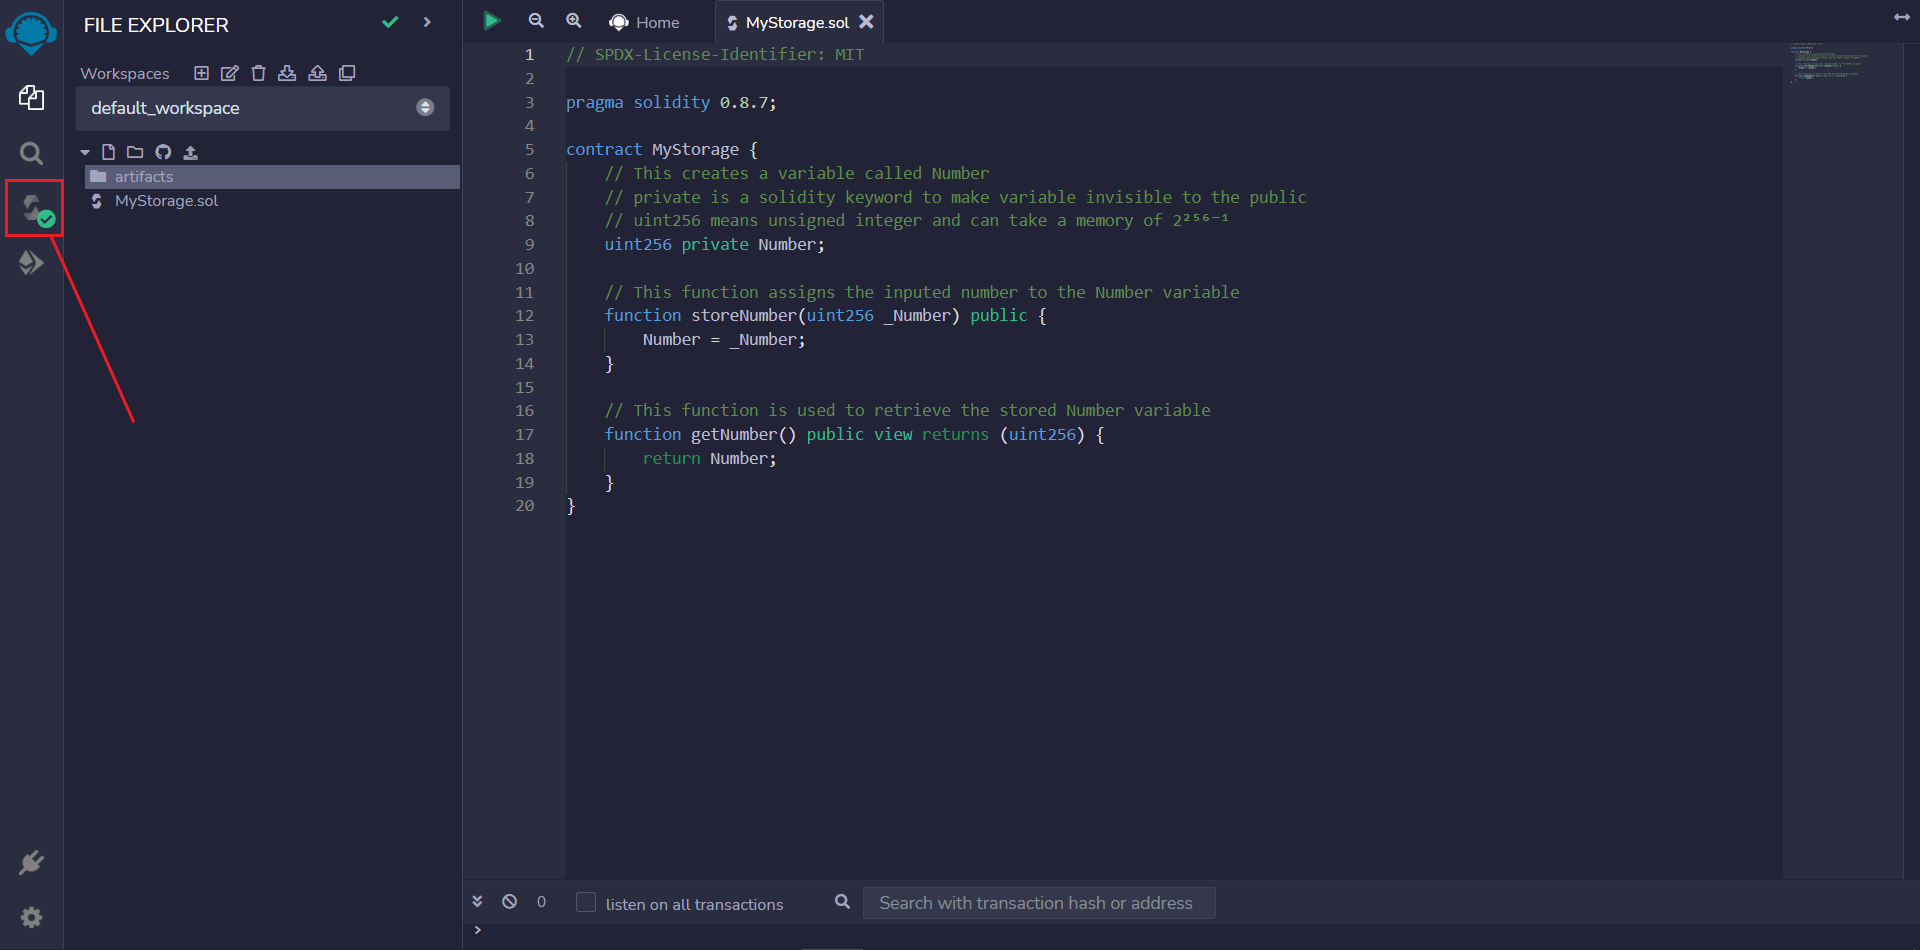
After you have created the file named MyStorage.sol, copy the following code into the file
In the above code;
- Line 1 declares the license permission for the contract. This means that the code is open-source and MIT-licensed.
- Line 3 declares the version of Solidity you are using (v0.8.7). It is important to note that the latest version of Solidity is v0.8.17
- In line 5, you declare the contract with the name MyStorage
Contract logic
Here, you want;
- To store input in a variable called Number
- A function that writes the input to the contract memory
- A function to get the input written to contract memory
In your Remix IDE, your code should be similar to the below
Compile the contract
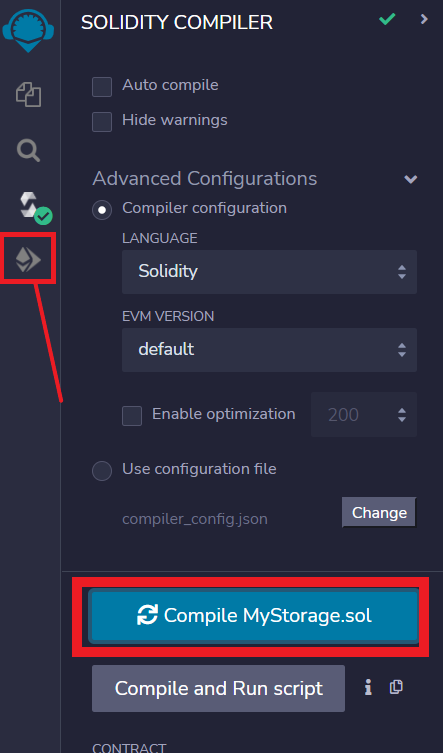
To compile the contract you have just created;
- Click on the icon below the search icon
- Click on the compile MyStorage.sol button then click on the last icon on the left side of your screen
Deploying the contract to Remix VM
In your current screen, leave the parameters as default and click on the yellow deploy button. This is where your contract gets deployed to the local Virtual Machine of Remix IDE.
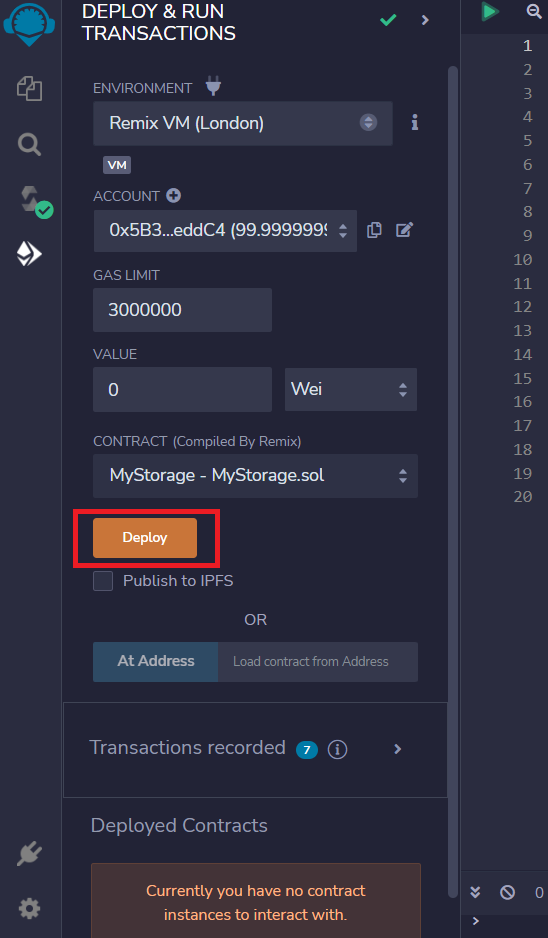 Once your contract deploys, you will be able to interact with the contract in the Deployed Contracts tab.
Interacting with the deployed contract
- Enter a number you want to store in the contract and then click on the yellow storeNumber button
- Click on the getNumber button to retrieve the value you just stored
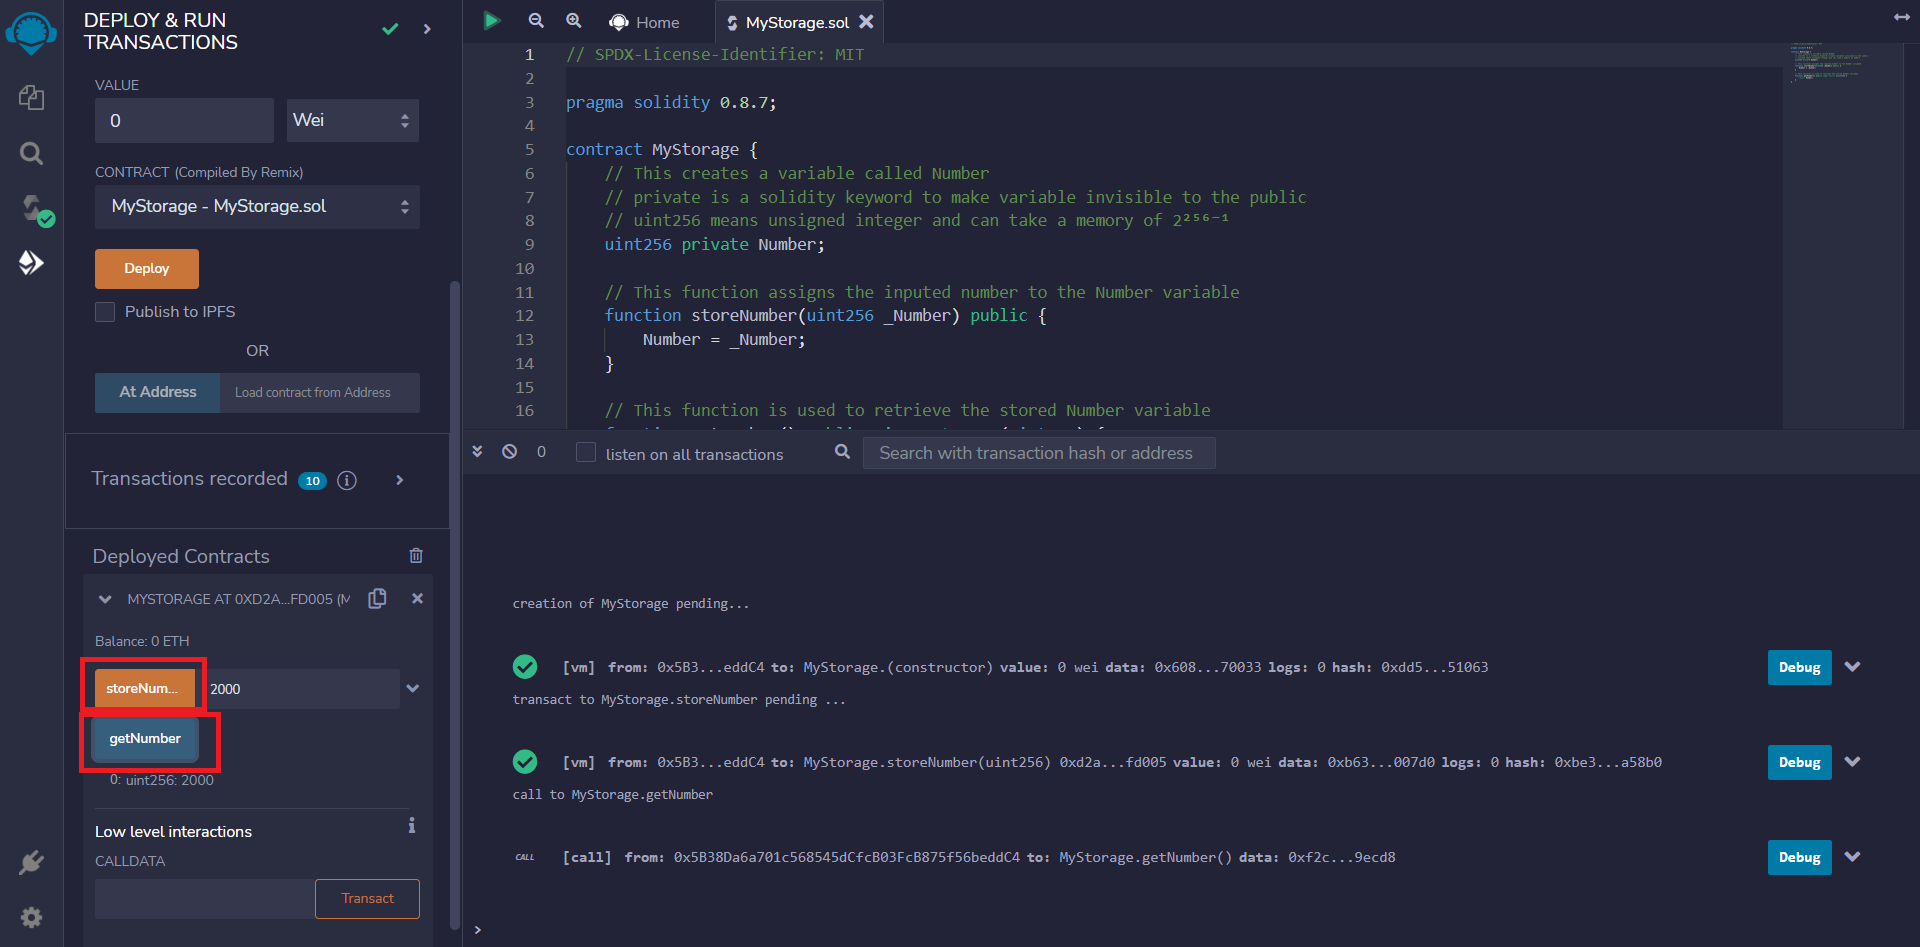 Your contract works fine if you can store and retrieve the values correctly.
Closing thoughts
It is important to note that when interacting with a local network like the Remix VM, the accounts automatically come with test Ethers (100 ETH) to perform transactions and deploy your contracts. When working with a testnet like Goerli, you will need to approve transactions with test Ethers which you get from faucets.
Conclusion
Congratulations on getting this far. You learned how to set up Remix for Smart contract development and build your smart contract. In addition, you learned how to deploy your contract and interact with it to ensure that it works as expected.
I’m sure that this article provided guidance for you and helped to build a smart contract.
Cheers 🥂


